Bee hotels are a relatively new phenomenon and, as such, there’s no definitive guide to making or using them. As we gain more experience and as science proves or disproves current assumptions, advice will surely change. But for now, here are some pointers to ensure that your bees have the best possible chances in life.
I have come to learn that smaller is better with regard to bee hotels. When I first started making them, I would use huge boxes and fill them with a variety of different materials. These were heavy and difficult to manage. Now I make much smaller hotels, which are lighter and encourage bees to nest at lower densities.
There are pros and cons to some of the main materials used to make bee hotels, which are outlined fully in my book.
How to make a bee hotel
The great thing about this design is that, when each tube fills up, you can easily remove it and pop it in your shed, to prevent a build-up of parasites.
The bee tubes here comprise an external reusable tube and an inner lining. The advantage of using these over bamboo canes is that in autumn you remove the reusable external tube, and then soak the inner lining in water to release the cocoons. You then leave these to dry before popping them in a matchbox or similar and storing them somewhere cool and dry (such as your shed) for winter.
You will need:
- Bee tubes or bamboo canes. They need to be a depth of around 16cm, with diameteres ranging from 7mm to 12mm.
- Plank of untreated wood with a width of 12cm and a length of no less than 125cm.
- Drill and drill bits.
- Self-tapping wood screws.
1
Cut the wood
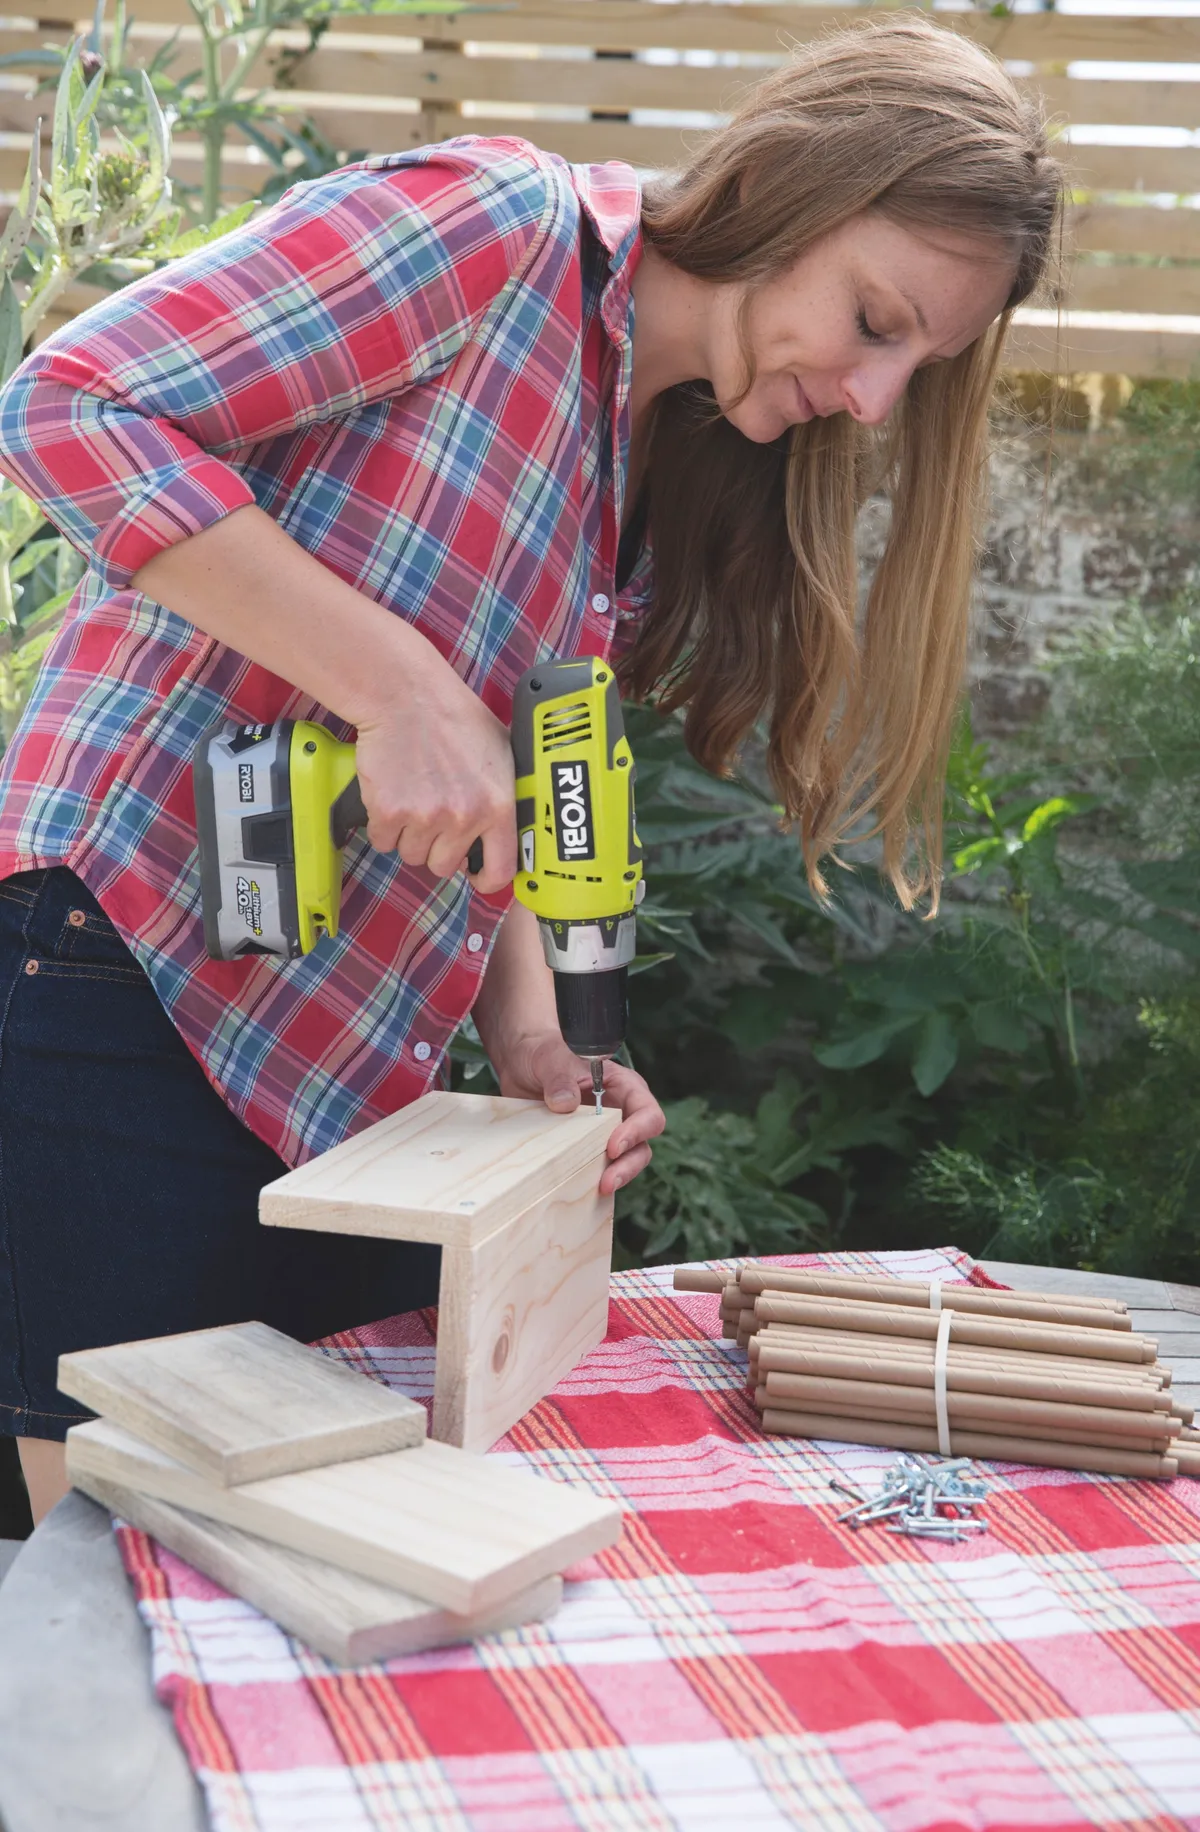
Cut the plank into five lengths of 25cm and piece them together using the drills and screws to make an open-fronted box with a long back panel. Drill a hole in the long back panel so you can fix it to a wall.
2
Add the tubes
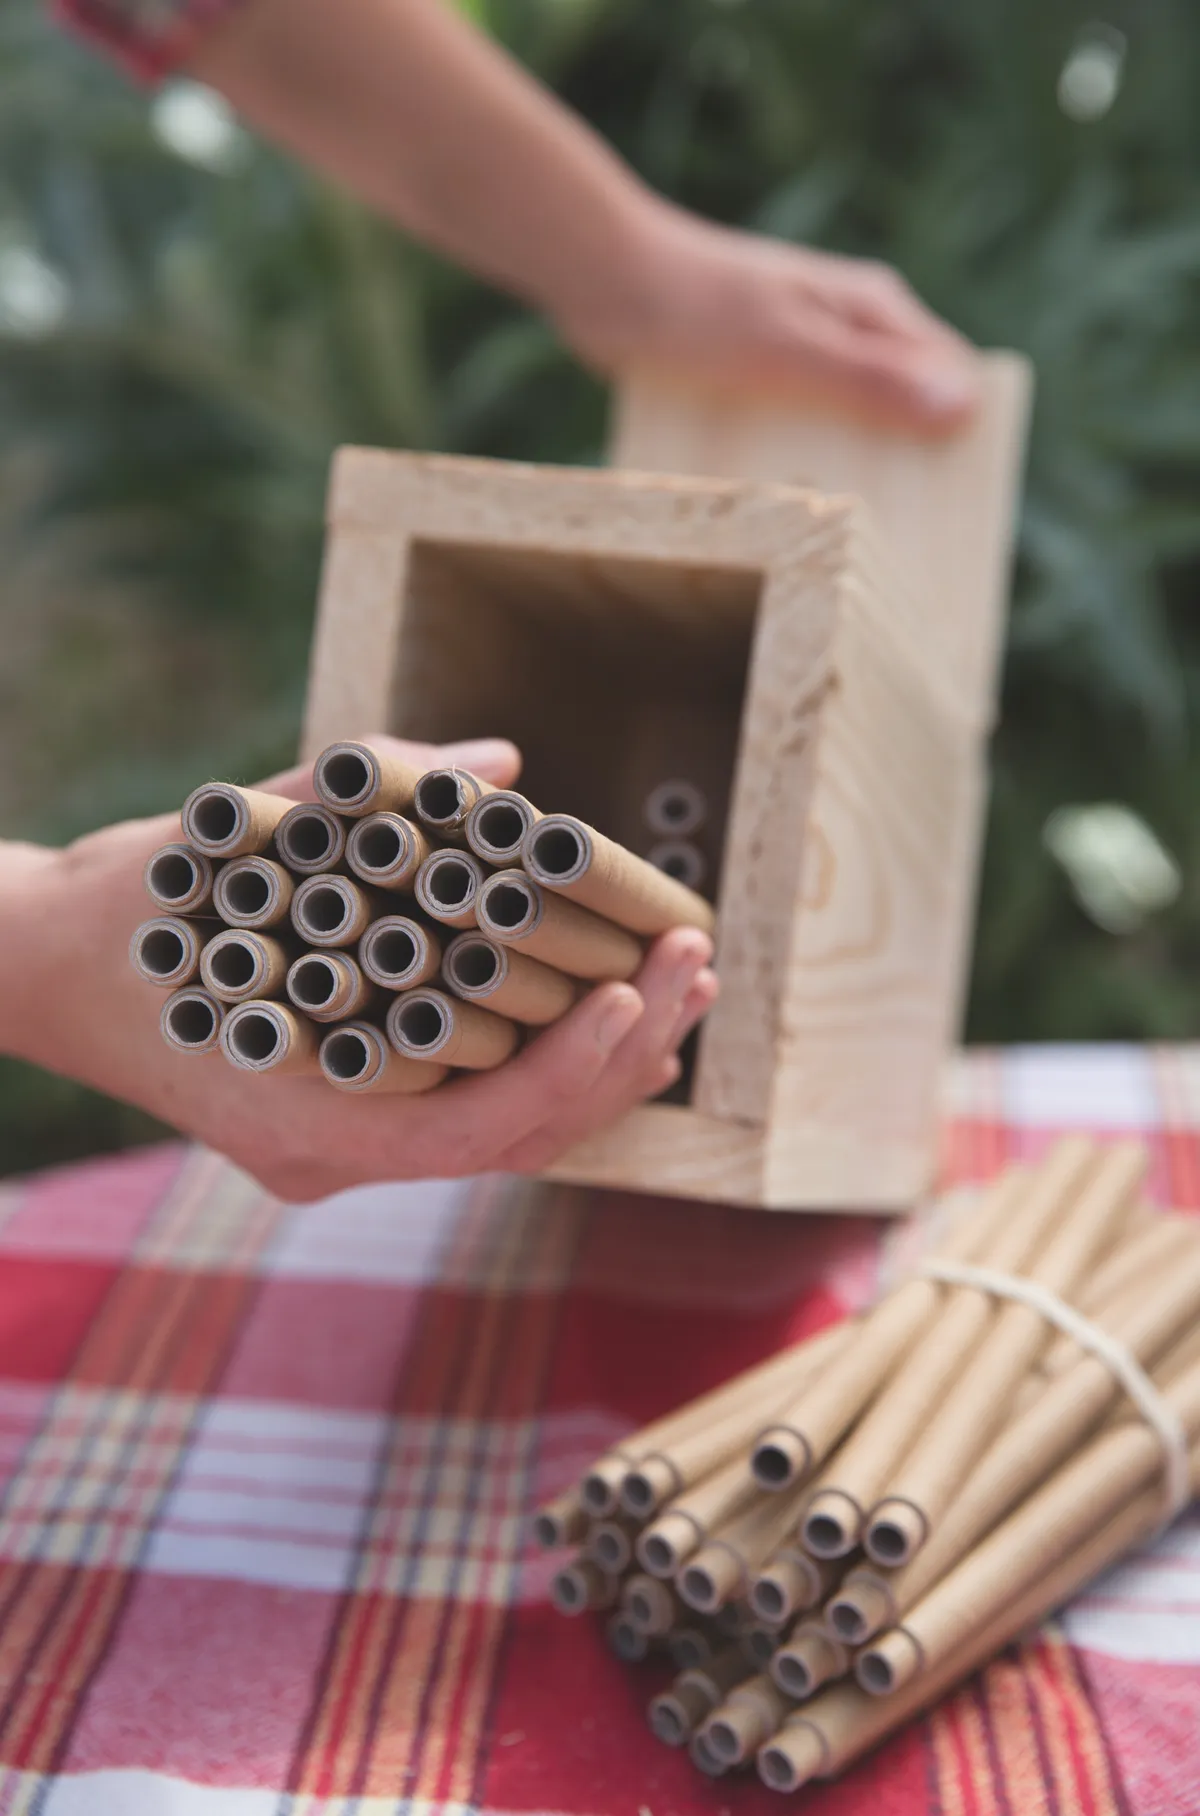
Sand off any rough edges and place the tubes or bamboo canes in the box. If using bee tubes, make sure the lining is flush with the external tube at the front, with the linter protruding from the tube at the back.
3
Place the box
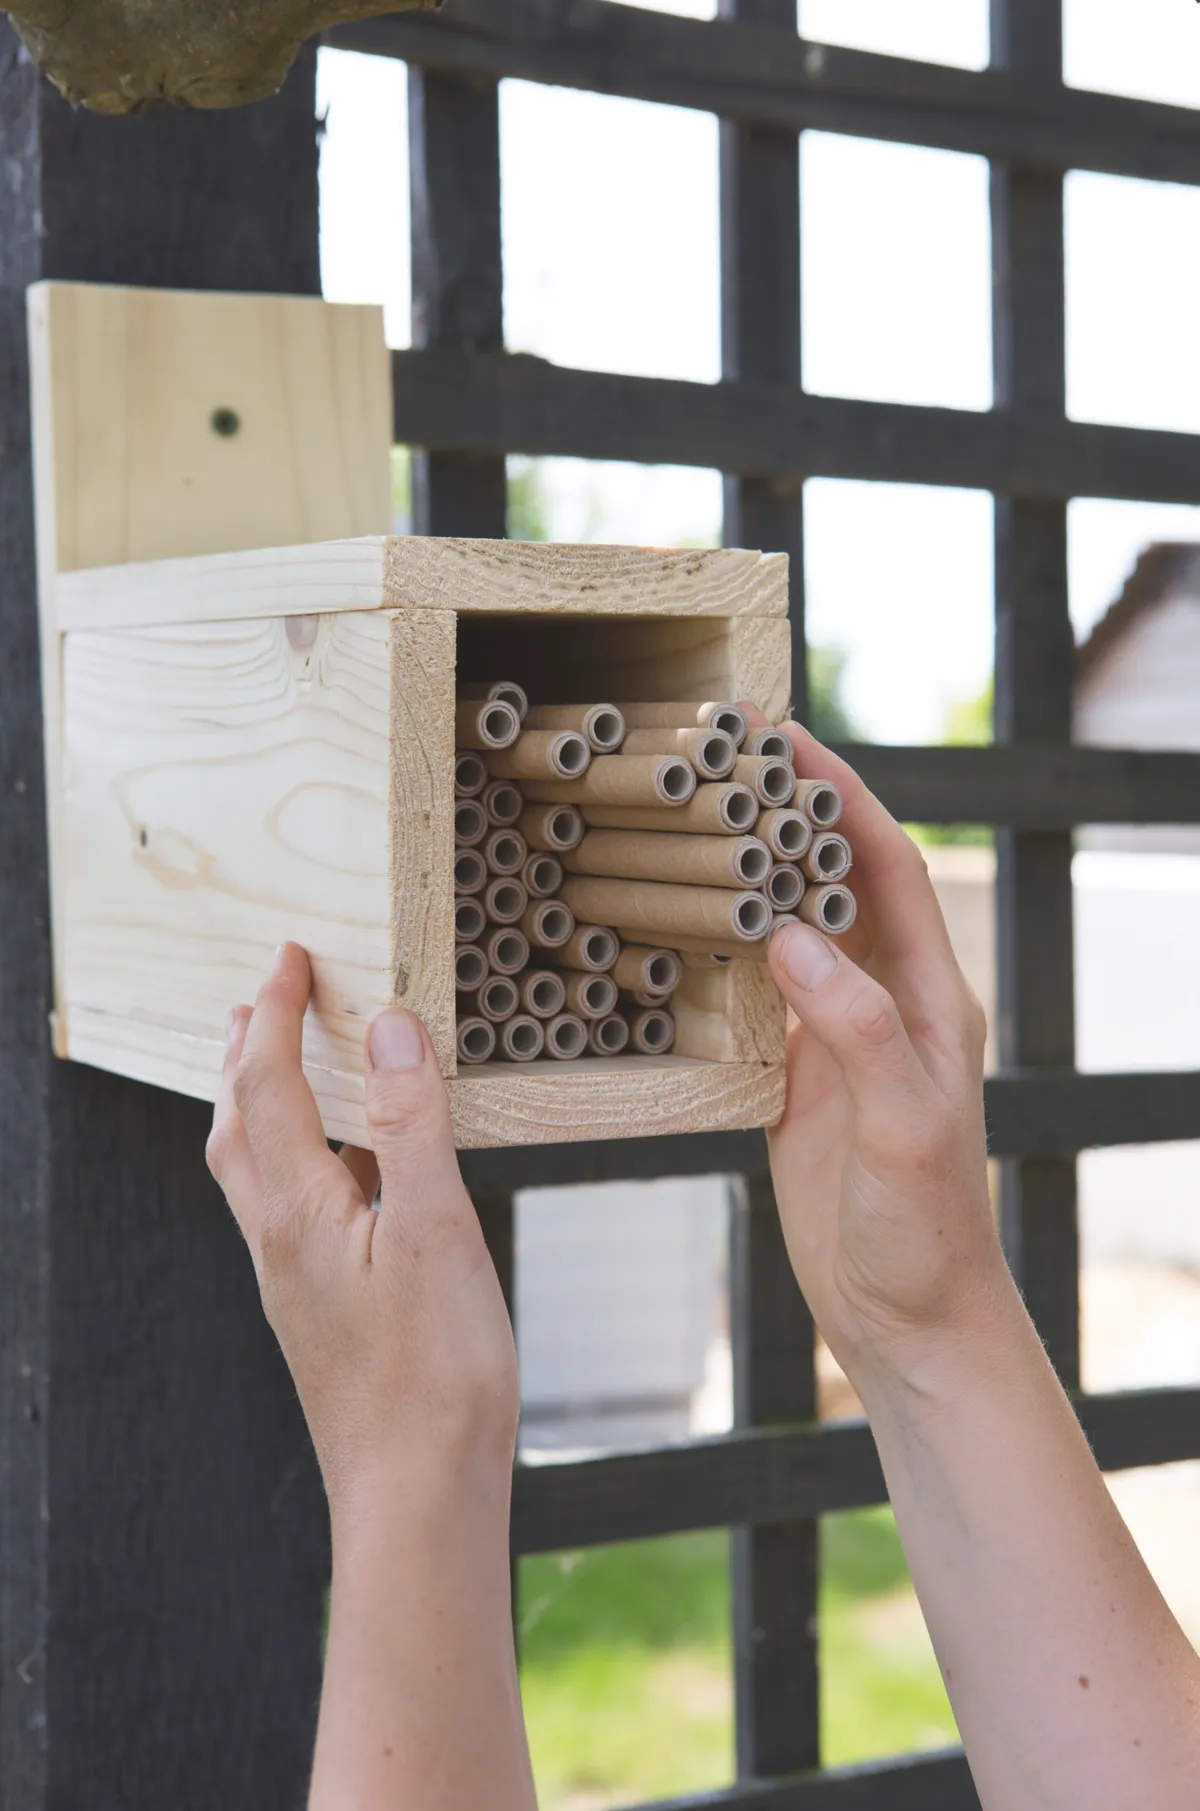
Fix the hotel to a south- or east-facing wall or fence, so it gets plenty of morning sun, around 1.5m off the ground. Make sure the tubes are pushed back against the back of the hotel so they are protected by the box from the rain.
Consider adding a protective ‘cage’ of chicken wire to prevent bird attacks. Just as tits learned to take cream from the top of milk bottles in the 1980s, so they are learning that a box of holes on a south-facing wall is likely to contain tasty grubs or adult bees. Chicken wire is usually enough to deter them.
Buying a bee hotel
If you don’t fancy making your own bee hotel, you can buy one instead. But, as with home-made structures, some are better than others. Here are a few things you should keep in mind when choosing a bee hotel:
What you should look for:
- Holes of different sizes with the biggest diameter being no more than 12mm
- Material – bamboo stems, wood, tray system or thick cardboard tubes – that you can replace or clean easily
- A good roof to protect the contents from rain
What you should avoid:
- Tubes made of paper (cardboard tubes that have paper inserts are ok), plastic or glass
- Holes with a diameter greater than 12mm
- Bee hotels that don’t have a back wall
- Bee hotels that contain pine cones, straw or wood chips
- Visible splinters
What should I do about parasites?
Bee hotel parasites can include mites, flies and parasitic wasps. The jury is out on what to do about these. Some argue that parasites are part of the ecosystem and a sign of a healthy population. Others remove and destroy all parasitized cocoons to boost the bees’ numbers.
I’m sitting on the fence here. I’ve never experienced a great number of parasites; and the cocoons that were affected were at the front of the hotel, which are male and therefore less of a threat to the population that if they had been female.
What to do with your bee hotel in autumn
In October I take apart my bee hotels and separate the cocoons by species. Red mason bee cocoons are red and walled up by mud; leafcutter cocoons are encased in leaves, like long tubes of cigars.
I’m extremely gentle with them – while red mason bees will have completed metamorphis by October, some leafcutter bees won’t have. So I pop these to one side and leave them to spring.
4
Remove the cocoons
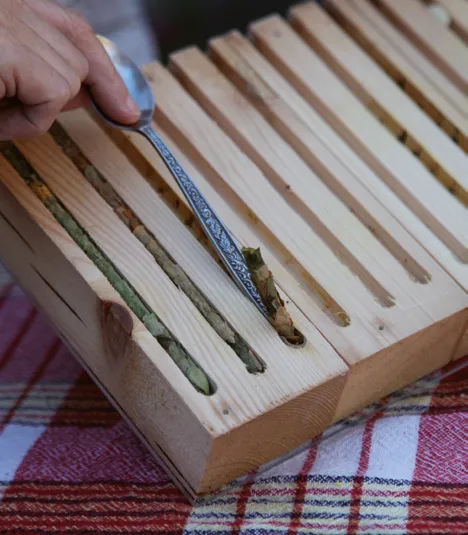
Take the bee hotel apart and gently remove the cocoons (I use the end of a teaspoon to tease them out). Identify any leafcutter cocoons and lay these to one side.
5
Rinse the cocoons
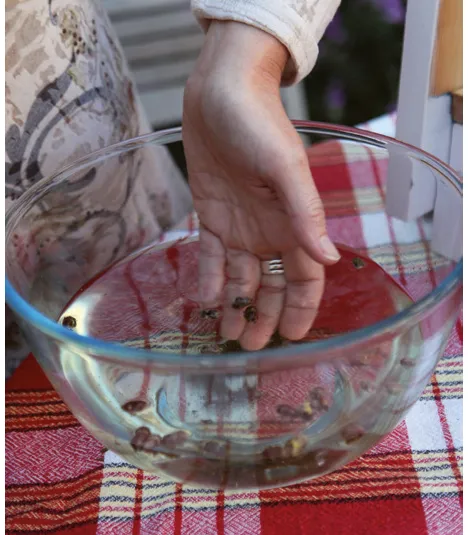
Gentle rinse the red mason bee cocoons in tepid water until all pollen and frass residue is removed (don’t worry – they’re waterproof).
6
Dry the cocoons
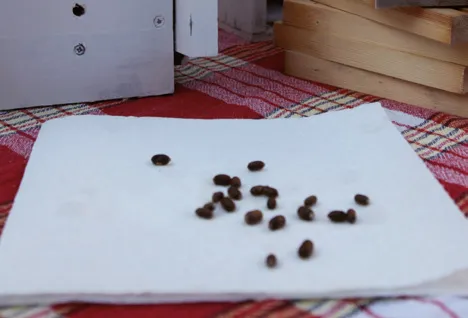
Lay the wet cocoons out on kitchen roll to dry. While doing this, brush down and scrub your bee hotel with hot water. Make sure there’s no visible frass or pollen mites, rinse well and leave to dry.
7
Store the cocoons
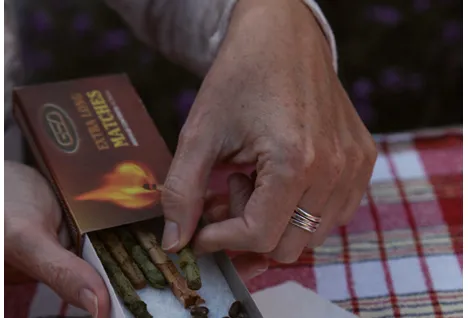
Gently transfer the leafcutter cocoons and dry red mason cocoons into a box such as a large matchbox. Leave them somewhere cool and dry, such as a north-facing shed, for winter.
This is an extract from Wildlife Gardening: for everyone and everything by Kate Bradbury, published by Bloomsbury Wildlife.
- Buy now from Amazon, Bookshop, Hive, Waterstones
